Making an RC Roomba
My journey into RC consumer electronic vacuuming started with a patent for mapping out rooms autonomously. This blog post has nothing to do with that patent, but this remote control robot vacuum wouldn’t exist if I didn’t have this other idea living rent free in my head for years now.
What is it? How did I do it? How many things did I fry in the process of making it? (Hint: too many). These and all your other burning questions will be answered after the break.
Feel free to award internet points as appropriate.
👏👏👏👏👏👏
Clearly, yes, this isn’t a roomba. That’s what this little fellow really wants to be though. I picked this imposter up at a yard sale for $20. I was looking for ride on kid toys that I could turn into large RC cars, but couldn’t pass up a deal. I had no clue Hoover makes robot vacuums and had a hope that Hoover wouldn’t put too much effort into making custom components when building one. The more off the shelf components that were built in, the easier it’d be for me to repurpose. I didn’t have time to research exactly what the vacuum was before buying it, and discovered it was a mid range model that had a surprising number of features with less than raving product reviews.
After snatching the little thing up it sat around for a few months. I knew it would eventually be a new prototype for mapping rooms (which itself is soon to be open sourced and blogged about), but I wanted to kick the tires on this little fellow first. Before going through the effort of taking the existing prototype apart, designing new structures for components to sit on and integrating it into this vacuum I thought it’d be fun to get it working with an old Playstation controller. My end goal was to get it to drive around, vacuum stuff up and try to improve its (at the time) fairly sad performance.
The first step to get there was a good ol’ teardown.
Teardown and part cataloging
Let’s start with a nice before picture and then we’ll get to the innards

And after a reasonably straightforward top removal we ended up with this:

The above photo leaves out the collector for dirt/dust/debris, the vacuum motor and a few bump sensors. Each sensor connects to the main board with an easy to remove connector and there weren’t any gotchas during disassembly.
I am in no way an expert at tearing things apart successfully, but I would give Hoover an ifixit (for me it’s usually ibreakit) score of 9/10. Everything is included in a way that makes sense and there isn’t anything that can’t be removed in a way that doesn’t let you put it back in again. If anything breaks on this vacuum and a replacement part is available it wouldn’t be difficult to swap the new part in.
The brains of our little vacuum friend are a STM32F101, providing a pretty beefy chip for what it can do out of the box.

For a bit I did go down the road of trying to read the chips memory and attempting to reprogram it with my own code (which would be very nice since the board has connections to all of the components) but ultimately decided not too because:
1) I couldn’t get anything that made sense out of any of the open pins on the board
2) I don’t know enough about hardware to say for certain there wasn’t some kind of protection and/or encryption in place for the chip and
3) This wasn’t the particular rabbit hole I wanted to go down at the time. When you’re already in a rabbit hole (in another rabbit hole) you gotta know when to stop digging
I gave up and decided to replace the board with something else to drive everything. Since this vacuum is so easy to reassemble I set it aside to maybe come back and figure it out later.
Continuing on with the tear down! There are a lot of goodies in this little vacuum that would be easy to repurpose without too much trouble. Keeping in mind that the code would have to be reimplemented to get everything working it has nice components with plugs that include:
- Motors with hall effects sensors

- 4 IR distance sensors
- 2 Bump sensors
- 3 12V motors
- 1 12V vacuum motor
- 1 12V 2000mAh battery

Just having all of this would be worth the $20 I paid for it already, but to add even more value every component has clip connectors that make hooking them up to something else a breeze. What a deal!
With the teardown completed, the parts cataloged and the screws (mostly) stored somewhere safe it was time to
Figure out how this stuff works
I decided to spend most of my time focusing on how to get the motors working since getting each motor to run on command would get the vacuum doing its job of, uh… vacuuming.
I couldn’t find anything online to help me figure out how the motors worked beyond knowing they were normal DC motors (except the vacuum motor, which I’ll get to in a bit). The two primary wheel motors each have a six pin connector with two powering the motor and the rest for the hall effect sensor. I used a multimeter to test the board as it was running and saw the voltage sat at around 5V consistently, and that should be enough to trigger the motors. Testing consisted of running 5V to each pin and seeing what turned the motor.
For this I used my trusty DIY benchtop power supply repurposed from an old UPS. It’s ain’t pretty, but it works great for the kind of things I like to tinker with.

Running 5V to two wires and testing each pin on the motor cable showed me the first two were what I needed. The voltage for the pins could also be reversed to spin the motor the opposite direction. These were 12V motors, so I was able to run them up to 12 volts with no issues (and no smoke).
This method worked for getting the brush motors to work as well, just with less pins. I tested this one with around 3V since I couldn’t confirm what voltage the motor was and used very quick pulses of electricity to prevent overheating. Still no smoke, the motor turned and the brushes were spinning the right way to feed the hungry hungry vacuum motor.
This vacuum motor was the final one to figure out, and it proved to be a bit tricky.
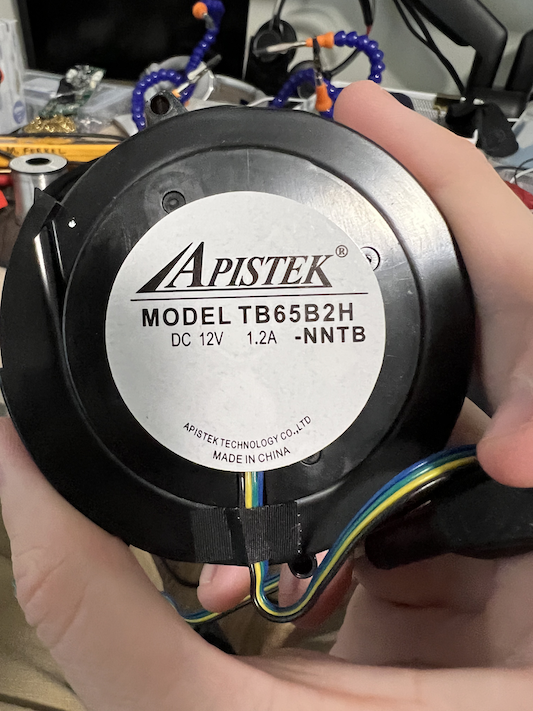
I was able to find some information based on the model, but testing each wire with the same method used for the other motors didn’t produce any results. I had recently taken apart a cordless stick vacuum and saw its vacuum motor was brushless, so I thought this could be the same situation. This motor wasn’t easily taken apart, and I really didn’t want to break it since vacuuming is…. uh….. the main feature of my vacuum pal.
Thankfully I had some RC equipment that I could use to test the motor. Brushless motors are three phase, which means the motor needs three wires with pulses sent at a set frequency to get it to spin. I grabbed an electronic speed controller (ESC), powered it up and started testing.
 After running through each pin and every combination of wires (the three wires in a brushless motor aren’t order dependent, so there weren’t too many to try out) nothing was spinning. I decided to peel up the stickers on the motor and found a LB11867F motor controller! I of course knew exactly what this was an realized I needed to ground pin #3 to tell the motor to run at full speed*.
* This in no way reflects what actually happened. Reality included a lot of googling, trying to translate Chinese datasheets and guessing that I could replace a potentiometer with a ground to get the motor spinning.
With all the motors spinning, directions figured out and lots of reference photos taken I was ready to move on to hooking it all up.
Ahead there be smoke…
To drive all of the motors I wanted to reuse the platform for my previous prototype, a Raspberry Pi Zero W with an Adafruit Motor Controller. For the kind of work I was doing I could definitely use something with less processing power, but I didn’t want to redo work that was already done.
I also had code already written that would connect to a PS4 controller with bluetooth and use the joysticks to drive two directional motors on a tracked vehicle and liked the time it would save me. The final wiring proved to be fairly simple, with each of the four motors hooked up to a block on the motor controller, the power from the batteries going into the power on the controller and a buck converter stepping down the voltage to run the Pi.

A quick test confirmed all of the motors worked, but I didn’t have time to reassemble and test the full vacuum. Things got busy and it sat around for a few weeks before I got back to it, and at some point the wires came loose. When I redid the wiring I was in a rush, and didn’t notice the wires to the buck converter were backwards, so when I plugged it in there was a worrying amount of smoke.
After investigating the damage not only did I fry a Pi Zero but also the motor controller. This came at a time when Pi’s are incredibly hard to find, and especially Pi zeros. Luckily I had a backup I could grab from another project, and even more fortunately I found one about a month later using the wonderful Pi Locator.
I ended up taking out the buck converter (also fried) and just using a small USB power bank to run the Pi. The buck converter will get added back in later, but maybe a different model with more dumb mistake protections built in.
Finally everything was ready. The code was done, the batteries charged and the top back on. It was time to get to work! The only problem was the batteries that came with the vacuum weren’t up to the job. It was unable to go a few feet with the vacuum on before slowing down to a crawl. There are lots of reasons this could have happened, but I decided to call it a battery problem and fix it with a swap.
After swapping in a 14v LiPo battery for racing drones the vacuum ran great. It had improved movement, suction and a longer runtime. There was even enough room in the front of the vacuum that the Pi and motor controller stayed nice and cool throughout vacuum around the entire house.
Overall this was a fun time (fried boards aside) and I learned a lot. There’s still work to do for the sensors (I really want to get the hall effect sensors on the motors working) but for now my RC Roomba works great. Just for parts alone I would happily pick another one of these little dudes up. For now, next steps for this project include designing some 3D printed parts, adding new sensors and getting it to map out a room all by itself.